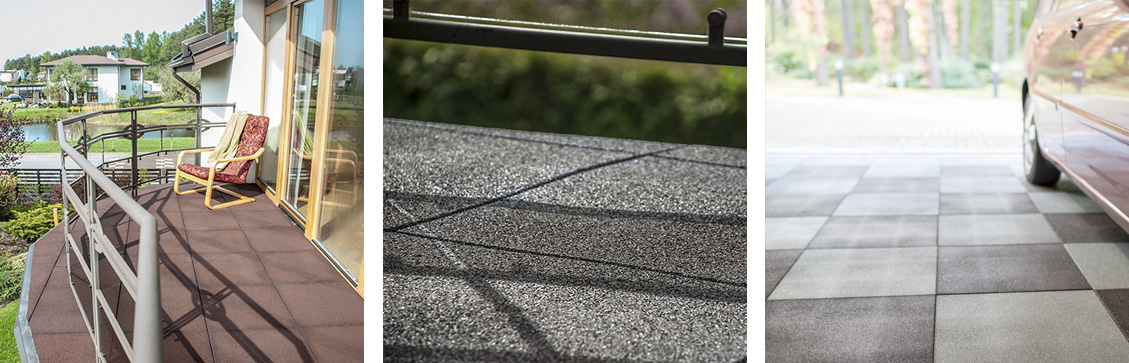
Practical and modular flooring for your home
Rubber tile flooring will compliment the design of any terrace, veranda or balcony. It is easy to maintain in all weather conditions. Rubber tile flooring makes an especially good choice for garage flooring due to its durability and simple installation process. In the event of ruined tiles due to spilled motor oil or other liquids, replacing single tiles instead of redoing the entire flooring makes it a highly cost-efficient choice as well.
Main advantages and benefits
– Simple installation process
– Easy to maintain and replace
– Easy to modulate and quick to install
– Maximum moisture drainage
– High shock and impact absorption
– An added element of design
Technical specifications of rubber tiles
- Standard size: 50cm x 50 cm
- Tile thickness: from 20 mm to 50 mm
- 7 colours: green, red, yellow, dark gray, light grey, brown and black
Product Description
Rubber tiles make a very practical surfacing choice; tiling of rubber tiles does not require professional knowledge. The variety of colours and the simple-to-understand manufacturer’s guidelines for tiling the rubber tiles makes improving your home easy and creative. The maintenance of rubber surfacing is simple and economical – it does not require the use of special chemicals or professional cleaning products.
European Union standard EN 1177
These practical rubber tiles are manufactured in Latvia and comply with European Union standard EN 1177, which is one of the most important parameters for rubber tiles indicating the maximum mechanical impact and shock absorption qualities.